
Using Searches
Searches are used to locate various files in the company.
For example, to locate an employee's file, you may search the company using their employee name or number.
Ready Pay returns a list of possible matches from which you can select the required record.
Desktop and Classic Searching
Searching is used to quickly locate and access data stored in any category in the system, most often to access an employee file.
There are two modes of searching: Desktop and Classic.
These can be accessed via toolbar and menu items, as well as the F3 shortcut key.
All searching options can be configured via System Settings – this is covered in
In the Ribbon Bar Search field enter the text you want to search for.
Ready Pay will return a list of all matching entities such as employees, pay items, bank accounts, deductions, etc.

This example shows part of the search results for the text ‘tal’:

Use the Scroll bar on the right to see more results. Click on the result you are after to open it.
In the Desktop search bar, you can also turn on/off the inclusion of terminated or archived employees by clicking on the drop down button against Search Filters:
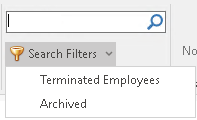
- When the Terminated Employees and Archived options are selected this means that you want to include these employees in the search results.

- When these buttons are not selected it means that these employees will not be included in the search results.
There are 2 methods of accessing the Search:
- Press F3 on your keyboard.
OR
- Click the Find Employee button on the Ribbon Bar.
The Search (F3) screen will open displaying a list of searchable categories.
- Select the required category.
- Enter your search criteria in the Search For text box, then click Start Searchor Enter.
- The right hand pane displays any search results, which you can double click to edit.
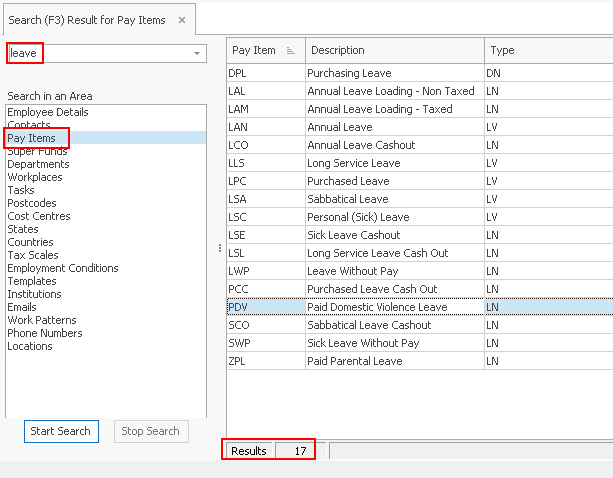
At the bottom of the right hand panel, Results shows how many records have been found with the specified criteria.
As an alternative method of accessing the search facility, use the F3 Shortcut key.
- For Desktop Search this will immediately place your cursor in the Search bar.
- For Classic Search this will open the Search (F3) window.
NOTE: To make it easier to locate a required record, you can further sort and group your results.
You can also choose the fields you wish to display or hide in the results pane.
These functions are covered in Customising the Window Display.
Local search is used when viewing a file to find an item contained in that file, allowing you to quickly change between related records.
For example, when viewing an employee file, you can use F4 to quickly pull up a different employee's record.
F4 can also be used to select individual employees when filtering reports.
To run a Local Search:
- Open an employee file. While the employee is displayed on screen there are two ways to open the search function:
- Press F4
- Click the Local Search icon located in the top left corner of the window.
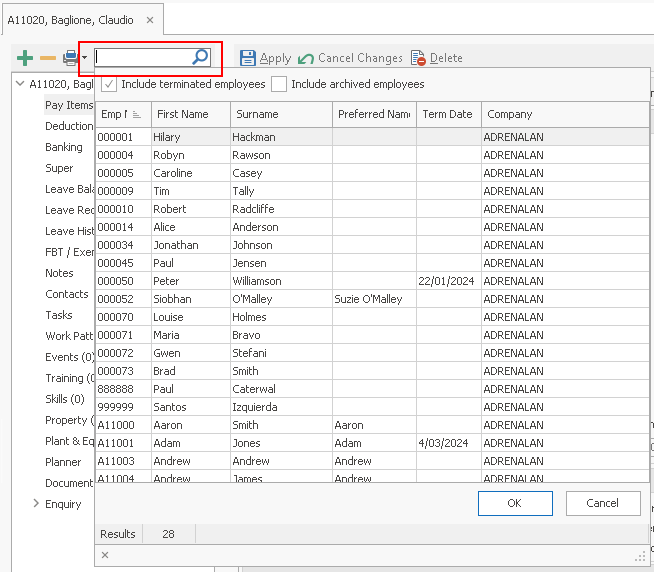
- Select the required employee or enter further search criteria to narrow down your results.
A local search will open in the left hand pane displaying a list of available employees.
You can control which areas of Ready Pay are searched and how many search results are returned per page, as well as specify the behaviour of the F3 shortcut, via System Preferences.
- From the Ribbon bar click on Settings.
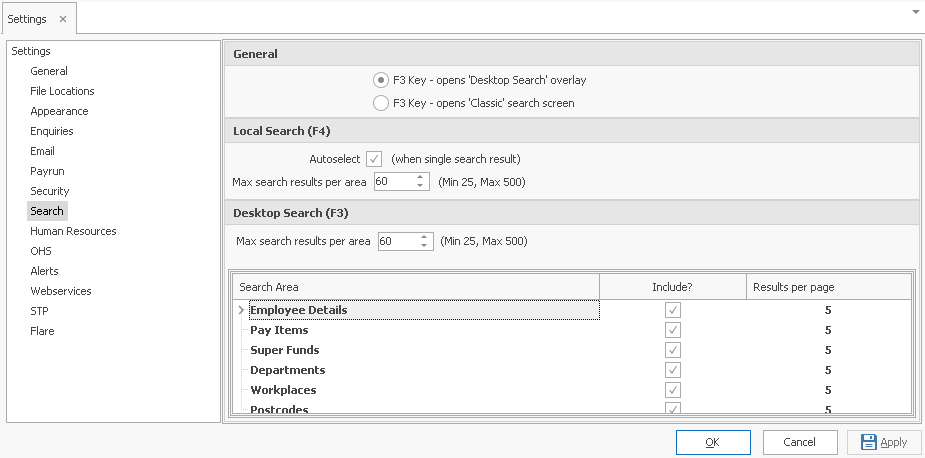
- In General select the appropriate option for the F3 key.
- In the example image, Desktop Search overlay is selected which means that the lower section of the window displays the Desktop Search options.
- If Classic is selected this will change the lower section of the window to the Classic Search options.
- In Desktop Search (F3) or Classic Search (F3) use the Max search results per area setting to specify how many search results are returned when you perform an F3 search.
The default value is 60, with minimum and maximum values of 25 and 500. - In the lower section of the window, select or deselect the Search Areas required.
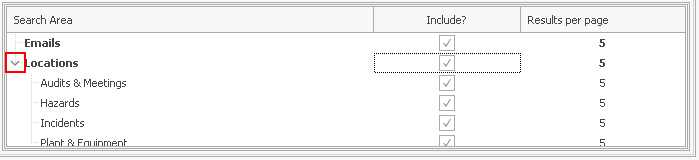
- If Desktop Search options are displayed in the lower section, you are able to expand some search areas in order to select sub-areas.
Note that the entries in this list will vary depending on the modules that you have installed and your security level.
For example Locations and its sub-areas would only be available with OHS: - If Desktop Search, options are displayed, this will show how many search results per page will be returned..
It is this number that shows, you will need to scroll down to see more data.
Click directly in the relevant Results per page number – this gives you a drop-down box from which you can select 5, 10, 20 or 50.
Note that if you have chosen to use Classic you may still use the Desktop Search feature by clicking in the Search For bar and typing the search text.
Local Search (F4) settings can be changed via the centre area of the Settings window.
If Autoselect (when single search result) is ticked: when a search finds only one match, this will ensure that the record will be opened automatically.
If you deselect this option, the search result will be displayed as a list item only.
Use the Max search results per area setting to specify how many search results are returned when you perform an F4 search.
The default value is 60, with minimum and maximum values of 25 and 500.
Confirm your changes
Once you have made your changes, click Apply to make the changes immediately whilst keeping the Settings window open, or click OK to apply the changes and close the window.
See also Drill Down Searching